
 日本語
日本語  Español
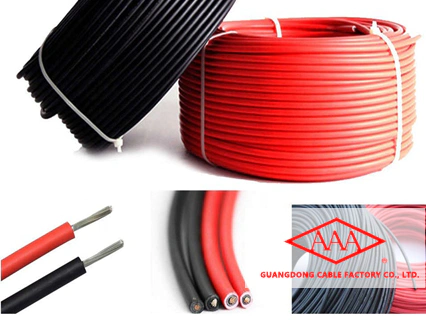
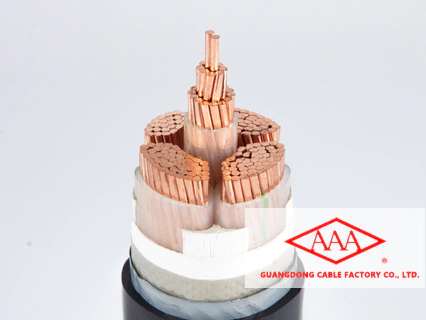
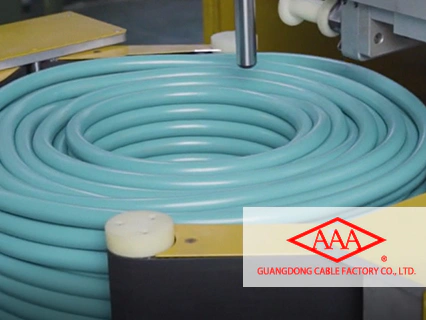
Guangdong cable received new order of 50,000 meters of solar cables
hack that holy usb cable!
by:AAA
2021-01-13
This manual shows how to use the USB port of the computer or laptop instead of the power supply of the battery.
Today, there are a lot of gadgets for USB ports, lights, vents and small vacuum cleaners.
Why don\'t you try to do something fun yourself with USB?
This technology is very low and requires the skills of your inventors and designers more than electronics.
No programming!
We will start with one of these gadgets (
Very cheap, 1-2 euro\'s)
Some experiments were done with it, showing the principle of paper buttons.
Compared to working with programmable chips, sensors, and complex cabling, it\'s like having a very superficial dream.
The principle of our paper buckle :(
Please see the instructions below :)
A simple tool is needed for this structure.
Screwdriver, scissors, cutter, glue, adhesive tape, maybe the welding equipment also came in handy.
For buttons: paper, aluminum foil and wires.
Paper is a rich material, there are a lot of different paper and quality paper, for the button we use, we use the light and soft paper, but for a base,
I like Japanese paper very much, but I have also used paper, printed paper, with textured paper on it.
There is also paper that has been exposed to the sun. the yellow color is very good.
Paper is very wabi-sabi for me. . .
We started with a gadget, but once you \'ve discovered this principle, you can use the old USB cable for the mouse or something.
What you don\'t need is the battery!
After years of very large connectors, 24 or even 36 pins, the USB connector has appeared. . . .
Small, beautiful, clean, design!
Compared to these dinosaurs, this USB connector design makes the USB mysterious and almost sacred.
I never dare to open it!
But you cut some dead mouse and what do you see: Actually, USB is just 4 wires: 5 Vdata data-
GNDBut this \"design\" USB is cost-effective, if you want to connect to a chip or Arduino on your computer using a serial port, you need an additional FTDI Chip, in the \"normal\" case, you can use RX, TX pins. . .
How to crack the USB cable?
Cut it off!
The gadget we use is 2-
The experiment began in 3 euros.
Vacuum cleaner (Not really! ), test it -
If it works, blow, give a little light. (makes noise! )
Open it and take out the part: a button/switcha motora LEDa circuit and USB cable, we start the experiment.
The motor and LED usually operate on 3 v, and the circuit inside the motor has a small resistance of less than 5 v (And current)
If you want to add LED, please be careful to add a resistor between 300 ohms
1 K, this resistor can protect the LED.
Now the rest depends on your fantasy!
Other materials such as paper, cardboard or fabric can be used to invent buttons, shapes and situations. . .
Let\'s start with a simple button. (
Use aluminum foil, glue and wires)(
Using fabric and foil, there is a layer of neoprene with holes in the middle, you can make heavier buttons, E. G. g.
Under your shoes)
Then we went ahead and hid the LED in a fold.
Surprises should be more than just the light inside the paper, as well as simple text that lights up only when you press the button. (
If you like to design typography, you can consider using a laser cutter to get clear rules to balance the text. )
See the switch for the \"old\" newspaper in the next steps. . .
The motor is this simple cheap on/off motor with very fast rotation speed.
You need a gearbox to make it run slower.
But this is not in the scope of this experiment for the time being because I just want to deal with the part where the USB vacuum cleaner is hacked.
The first experiment is to draw graphite on paper and make a voltage divider.
This is a variable resistor in a motor wire that can slow down the speed of the motor.
This is not a success. . .
The resistance required to slow down the motor is 2-5Ohm (
It gets hot)
, The motor is not too slow, the graphite of course conducts the current, but there are still 10-
100 K, better suited to signal to the Arduino\'s pins than to provide true power.
The thing that helps is to put the motor on several layers of cardboard, and then something interesting happens: on a smooth table, the spin motor starts to move (
Kind of like the vib motor on the toothbrush, but more like the Hoover Craft).
This is a two way button with three wires connected.
The button has two positions up and down.
The middle part is full of aluminum bars, and small aluminum squares are on and off.
The wire is on the back.
The middle can be connected to the wire on the left or right.
One is connected to the LED and the other is connected to the motor.
A few seconds of video to show how it works: then you have to imagine a useful way to arrange the LED. . . .
And the VEN part. . . .
This article is about a philosopher, a German, a little hard to read. (
His text is difficult to translate because he is very \"integrated\" into the internal work of German, which is why, for example, translation in French (
Can\'t speak English)
Loose 50% meaning and word game. )
The problem is (as always)
Unexpectedly: The Wire is too hard, curly, knot.
This paper is so light!
So I wire from \"normal (diameter 0. 14 mm2 )to my usual (smart textile)
Wire with diameter 0. 05 mm2.
This is a bit of a help, but in order to get a stable setting, you still have to tie the paper, LED, button to the table.
Then buckle the paper (for a class. . . )
You must be very careful!
Custom message
Related Products